Retreading stairs is a great example of how carpenters often need to seamlessly blend the old with the new.
The old stairs I write about here were structurally sound but cosmetically worn and very squeaky. I shored them up and installed new stair components on top of the existing steps. Retreading the staircase with new red-oak tread and riser caps allowed me to leave the existing lead-painted woodwork and plaster undisturbed as well as reuse the original balustrade and newel post. I stained the new wood with General Finishes RTM color #76.
Curved Riser and Tread
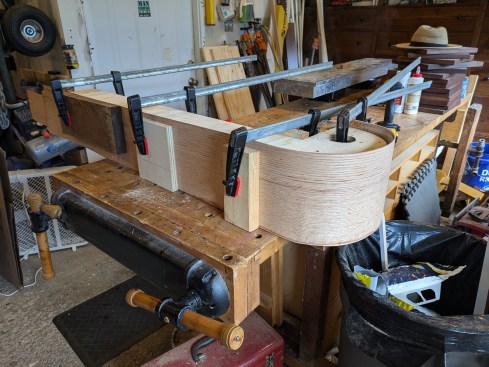
A new curved riser consists of three rift and quarter-sawn ⅛-inch-thick solid wood laminations that I milled with a table saw and thickness planer. I built a bending form based on a tracing I took of the existing curved riser. To make bending the laminations easier, I soaked them in hot water for a few minutes. Then, to preshape the parts before glue-up, I clamped the wet laminations around the form until they dried. At that point, I glued the laminations together with Titebond and reclamped them to the form, leaving them for a few days while I focused on other projects.
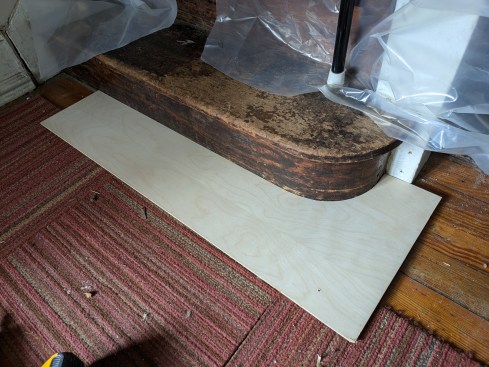
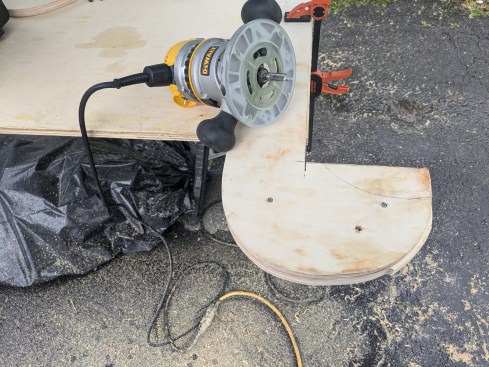
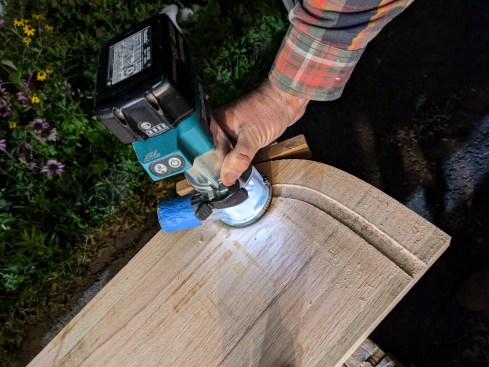
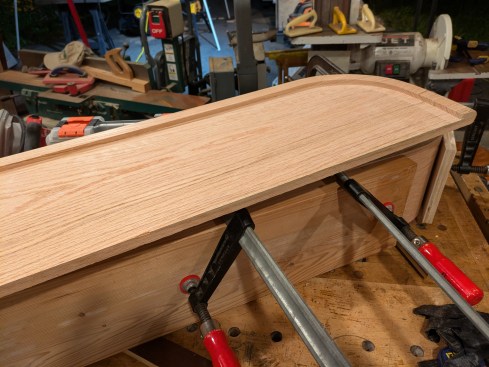
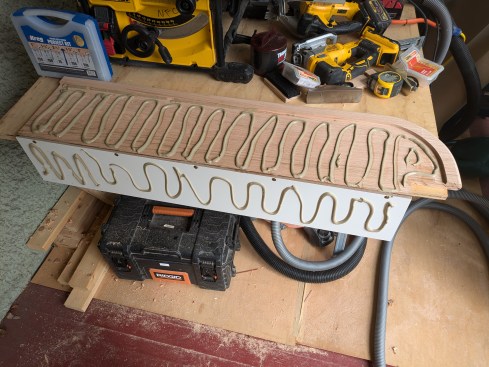
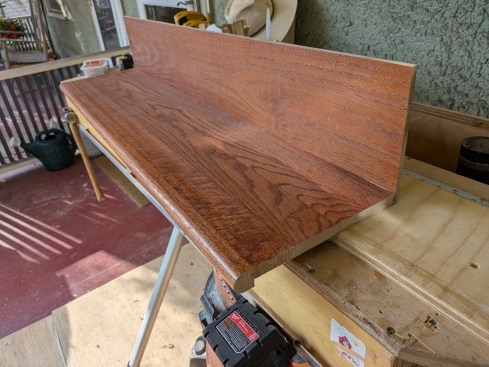
The curved tread is made from a wide, flat-sawn, red-oak board sourced from a local hardwood dealer. I made a template and used it to lay out the curve on the tread, then shaped the curve with a jigsaw. A disc sander worked well to square the edge and remove the saw marks. I made the final length and width cuts later, on site.
Nathan Clark
The authors first step is to create a template for the curved la…
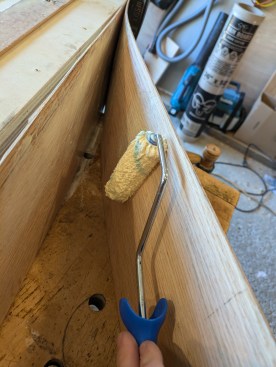
On a retreading job, the treads are typically thinner than usual and have a rabbeted nosing. I established the curved edge of the rabbet with a router and edge guide. Several passes with a router thinned out all but the nosing of the tread. The router also rounded over the nosing.
Preparing the RetroTreads
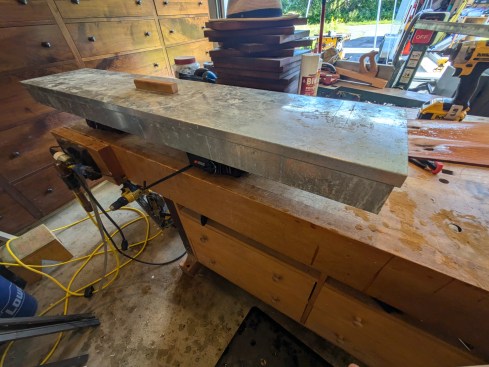
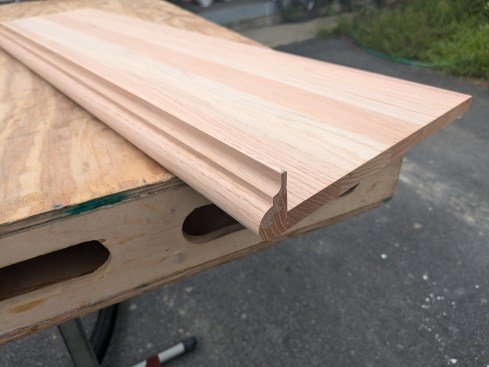
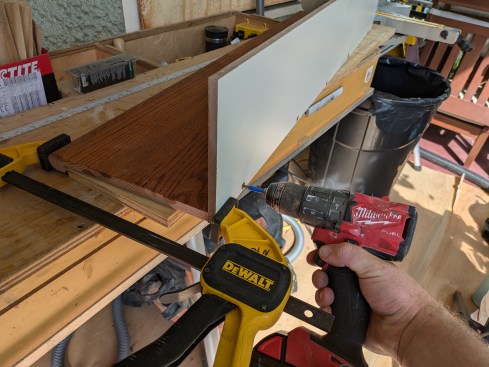
I used RetroTreads for the straight treads on the rest of the stair. As with the milled-down curved tread above, the RetroTreads, at 5/8 inch thick, are thinner than a typical 1-inch-thick stair tread and so will have less impact on the unit rise of the first step to the floor. These RetroTreads had a built-in Scotia/cove molding, which I removed with a table saw and thickness planer (see photos below.
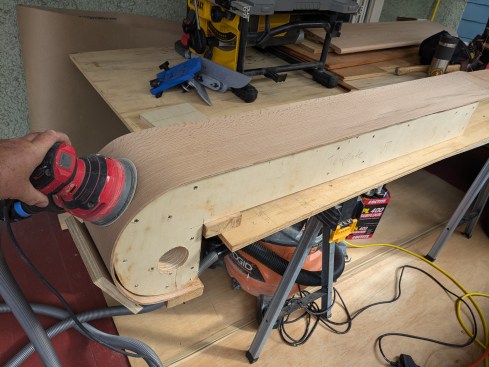
I machine-sanded the treads and curved riser up to 150 grit with a large random orbital sander, then raised the grain with water followed by hand-sanding with 220 grit. I applied a water-based General Finishes RTM stain and brushed on three coats of polywhey floor polyurethane in satin.

Nathan Clark
The RetroTreads nosing molding will not match the look the homeo…
Shoring Up the Existing Stairs
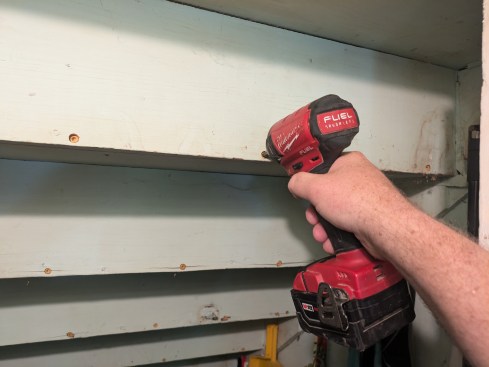
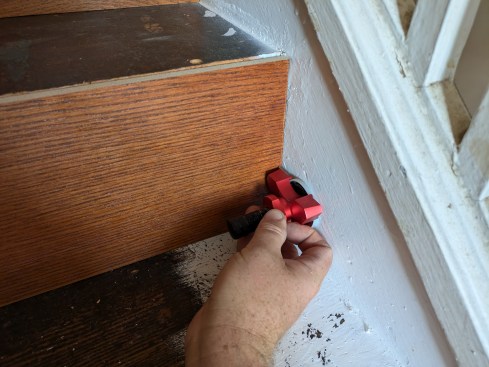
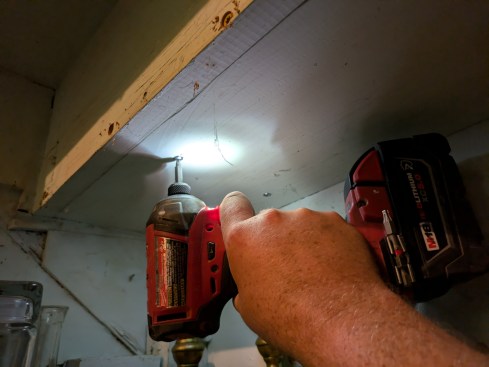
On site, I fastened through the backs of the existing risers into the treads with framing screws to tighten up the old stairs, helping to reduce the squeaks.
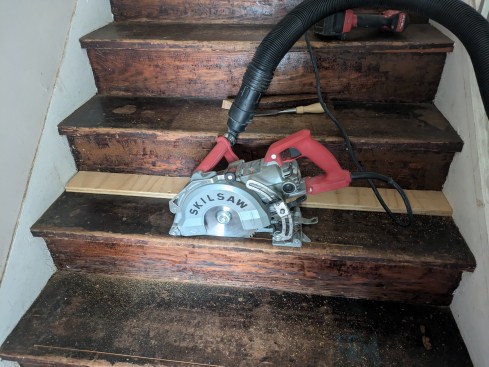
I cut most of the nosing free from the original treads using a circular saw. A plywood spacer ensured that I consistently cut each nosing a whisker back over the riser below. I then used an oscillating saw to flush-cut the nosing to the stringer on the balustrade side of the stairs. I pulled the nosing all the way out of the stringer; a new skirtboard will hide any gaps.
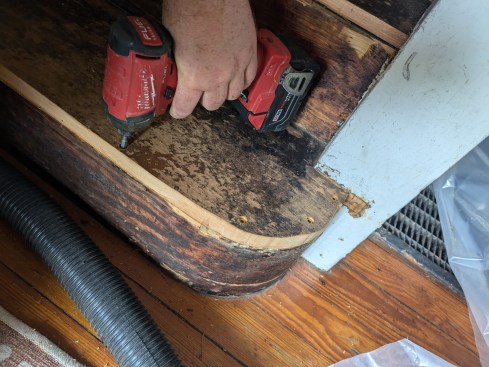
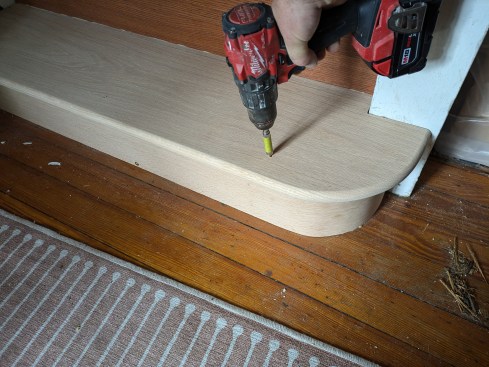
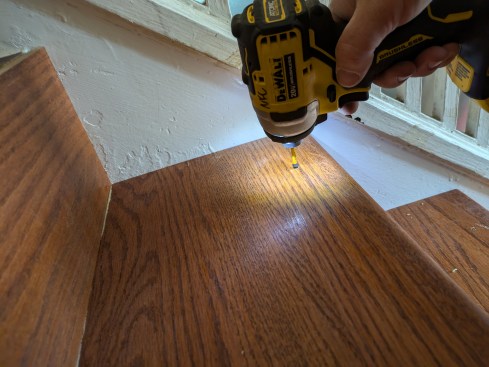
Working with a jigsaw and router, I also removed the existing curved tread’s nosing. I predrilled and countersunk pilot holes in the treads and secured the treads to the risers below with some framing screws.
Nathan Clark
The author starts firming up the old stairs by adding screws thr…
The balustrade-side stringer would remain visible at the end of the project, so I brad-nailed the remaining nub of nosing in place on that side. I followed up by filling the shallow voids with Zinsser MH Ready Patch and sanded the patches flush with the surrounding stringer surface. I then primed and painted the balustrade-side stringer.
Installing the Curved Riser and Curved Tread
I started installing the new treads and risers from the bottom of the staircase and worked my way up. So, first I installed the curved riser, then I fit the curved tread and preassembled it to the riser above. By preassembling the risers and treads in pairs like this, I can ensure that there are no gaps between the back of the treads and the riser above.
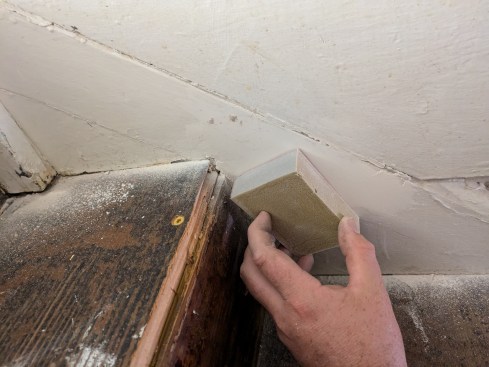
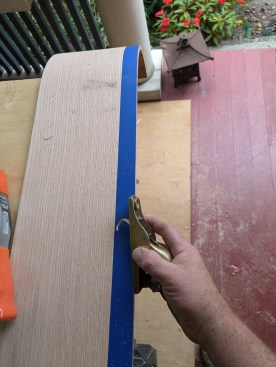
Before I installed the curved riser, I scribed it to the floor. Putting blue painter’s tape along the bottom of the riser made it easier to see the scribed line as I rip cut the riser with a circular saw. I dialed in the final fit with a block plane.
PL Premium construction adhesive has some elasticity once it cures, making it an excellent choice for stair parts. I liberally applied the adhesive to the underside of the curved riser and tacked the riser in place with washer-head screws and brad nails. The tread nosing would eventually hide the fastener holes along the top edge of the riser.


Nathan Clark
The previously glued up curved riser is sanded before insulation…
I assembled a template for each tread using strips of lauan and a hot glue gun, then traced the rip cut line and the newel post cutout onto the bottom of the tread. I scribed the first straight riser to the right-side stringer and glued (using PL construction adhesive again) and screwed the riser to the back edge of the tread to create a “subassembly.”
Four screws through the tread held the riser in place while the glue cured. I also brad-nailed the top of the new riser to the old staircase; the next tread nosing would hide the nail holes.
Preassembling and Installing the Treads and Risers
After installing the curved step, I scribed each of the following risers and treads, bottom to top, to the balustrade-side stringer. Crosscutting the treads and risers with a miter saw can chip the wood, so, instead, I deepened the scribe mark with a sharp utility blade to prevent chipping. A miter plane cleaned up the saw marks and helped me dial in the fit.
I preassembled each tread to its riser above with PL Premium and some cabinet screws. I let any PL squeeze-out start to set up before I scraped it away with a sharp putty knife. Doing this results in fewer smears of the adhesive on the material.
Nathan Clark
Each new riser is scribed to be tight to the handrail side. A ga…
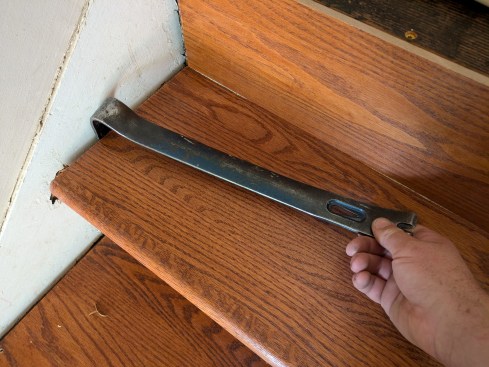
I applied construction adhesive on the old treads and risers to make for a stiffer (and hopefully) squeak-free set of new stairs. I gave the new parts a few taps with a rubber mallet to fully seat them in the bed of adhesive. Then, I used a pry bar to hold the assembly tight to the stringer on the balustrade side as I set a couple of trim screws through the tread on the stringer side. Three more trim screws across the front of the treads held them down. I shot 15-gauge nails into the risers to hold them in place. Washer-head coarse-thread screws installed into the retro treads from below secured the old treads to the new ones, resulting in minimal fasteners visible from above.
Landing Tread
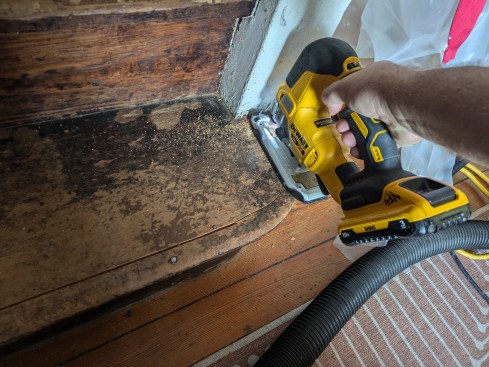
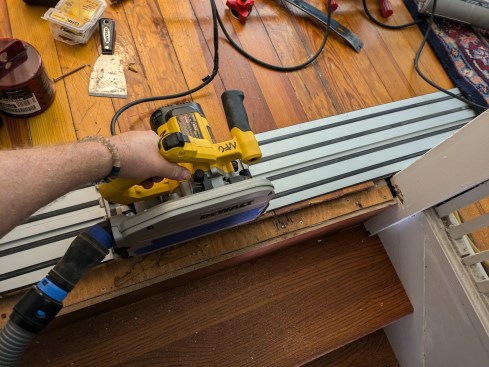
Using a track saw followed by an oscillating saw, I cut the flooring back in preparation for a new landing tread. Slightly easing the leading edge of the existing flooring allowed for a smooth transition to the new tread.
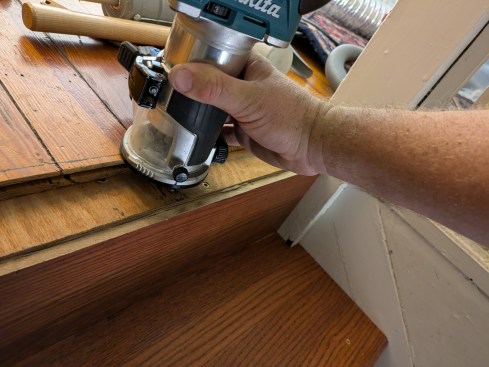
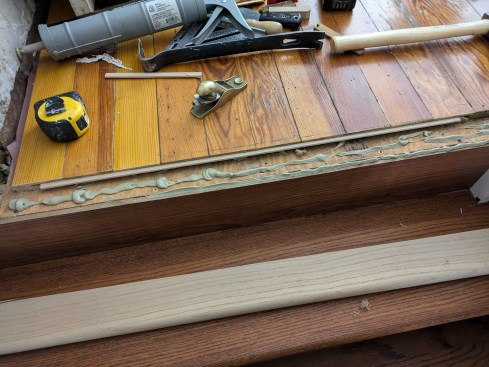
I cut a groove into the back of the landing tread as well as the existing flooring with a router bit. This groove allowed me to attach the landing tread to the flooring with a spline, some PL construction adhesive, and a few screws.
Nathan Clark
The top landing hardwood is cut straight with a track saw.
With all the parts installed, touched up, and cleaned, I stained everything followed by three coats of polyurethane. A light sanding was done between each coat.
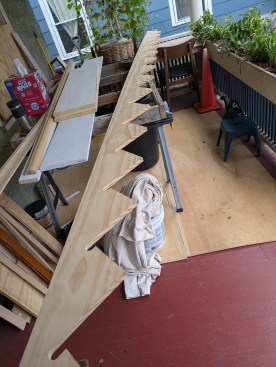
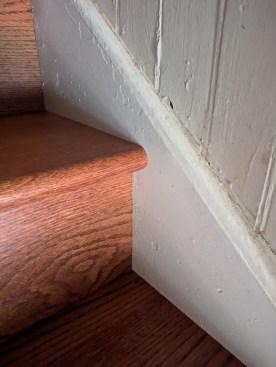
Scribing a Skirtboard
A new skirtboard scribed to the treads would look better than the original stringer and result in fewer gaps over the years. The components of the staircase will expand and contract over time and this new skirtboard will allow that to happen while hiding any gaps. This method is also easier than scribing each tread and riser to the existing skirtboard.
First, I scribed the tread lines of each step with a sharpened nail set into a piece of scrap wood at the height of the step rise. Then I level-cut the bottom of the skirtboard to the floor and scribed each of the risers.
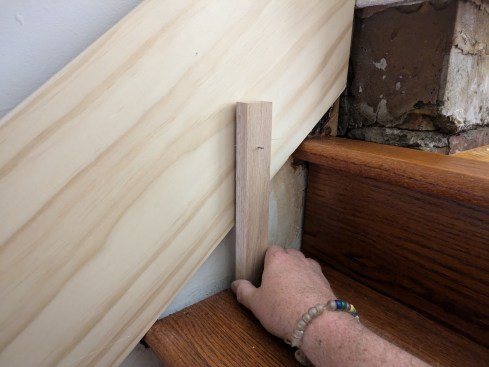

Nathan Clark
The skirt board is placed along the nosing to be ready for scrib…
A scrap offcut of tread nosing is useful for tracing the nosing profile onto the skirtboard. I used a circular saw, jigsaw, and block plane to cut to the scribed lines. The scribed skirtboard usually needs to be dry-fit first and potentially whittled a bit to achieve a tight fit.
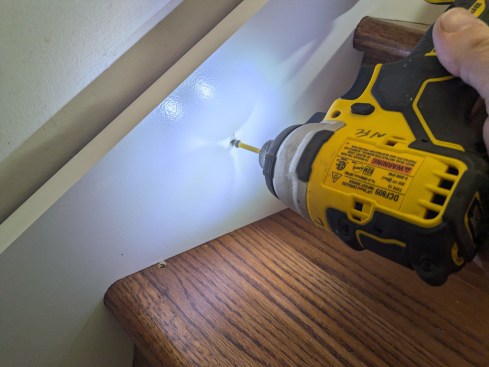
I fastened the new skirtboard to the old stringer with two screws at each tread, then tied the baseboard into the skirtboard and added base cap molding run along the top.
I filled the remaining exposed fastener holes in the treads with wood filler and stained them with the same stain I used on the raw oak. Then I lightly sanded all the stained stair components followed by a fourth and final coat of polyurethane. This will protect these stairs for years to come.
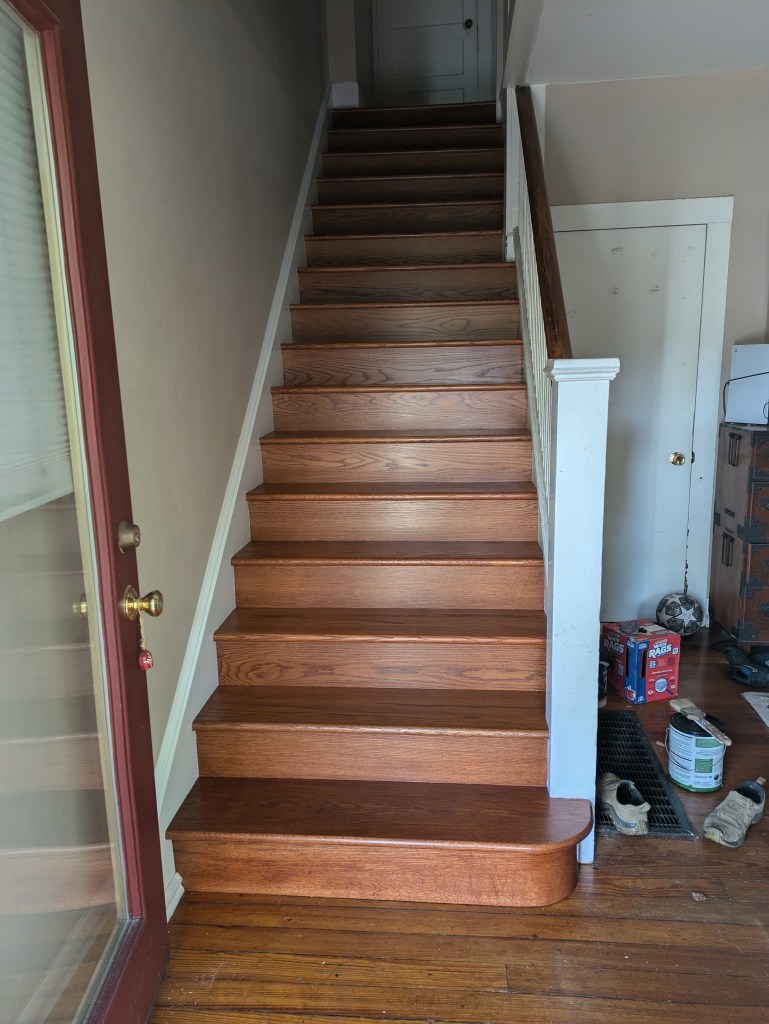
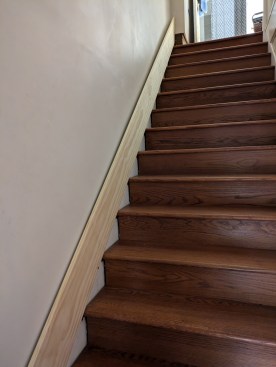
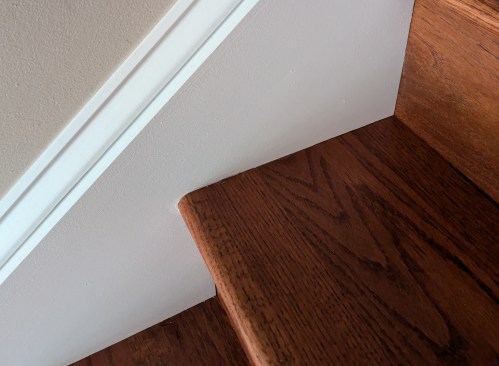
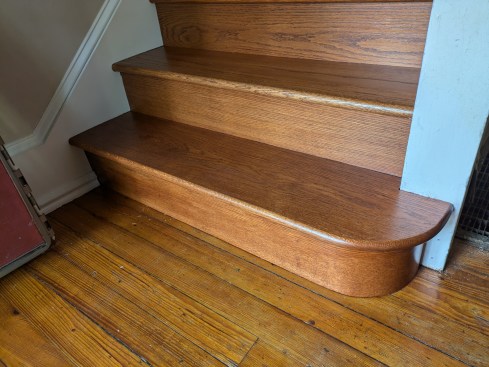
The Completed Stair
These new stairs look good and are nice and stiff (and quiet) to walk on compared with the original. The new treads and risers also fit tightly against the original stringer on the balustrade side. These joints may gap over time as the components expand and contract and the house continues to settle, but the careful use of glue and fasteners should minimize this effect.
As I had hoped, by repairing the original stairs and using them as subtreads and subrisers for new oak treads and risers, I was able to leave the old paint undisturbed and limit the scope of the project by keeping the balustrade intact. I also didn’t have to damage and repair the plaster walls. The client was happy, mess was limited, and it was a fun and satisfying project.
Keep the conversation going—sign up to our newsletter for exclusive content and updates. Sign up for free